Appetizer, Gluten Free

WATERMELON + CUCUMBER SKEWERS

watermelon cucumber skewers . sprouted kitchen
watermelon & cucmber

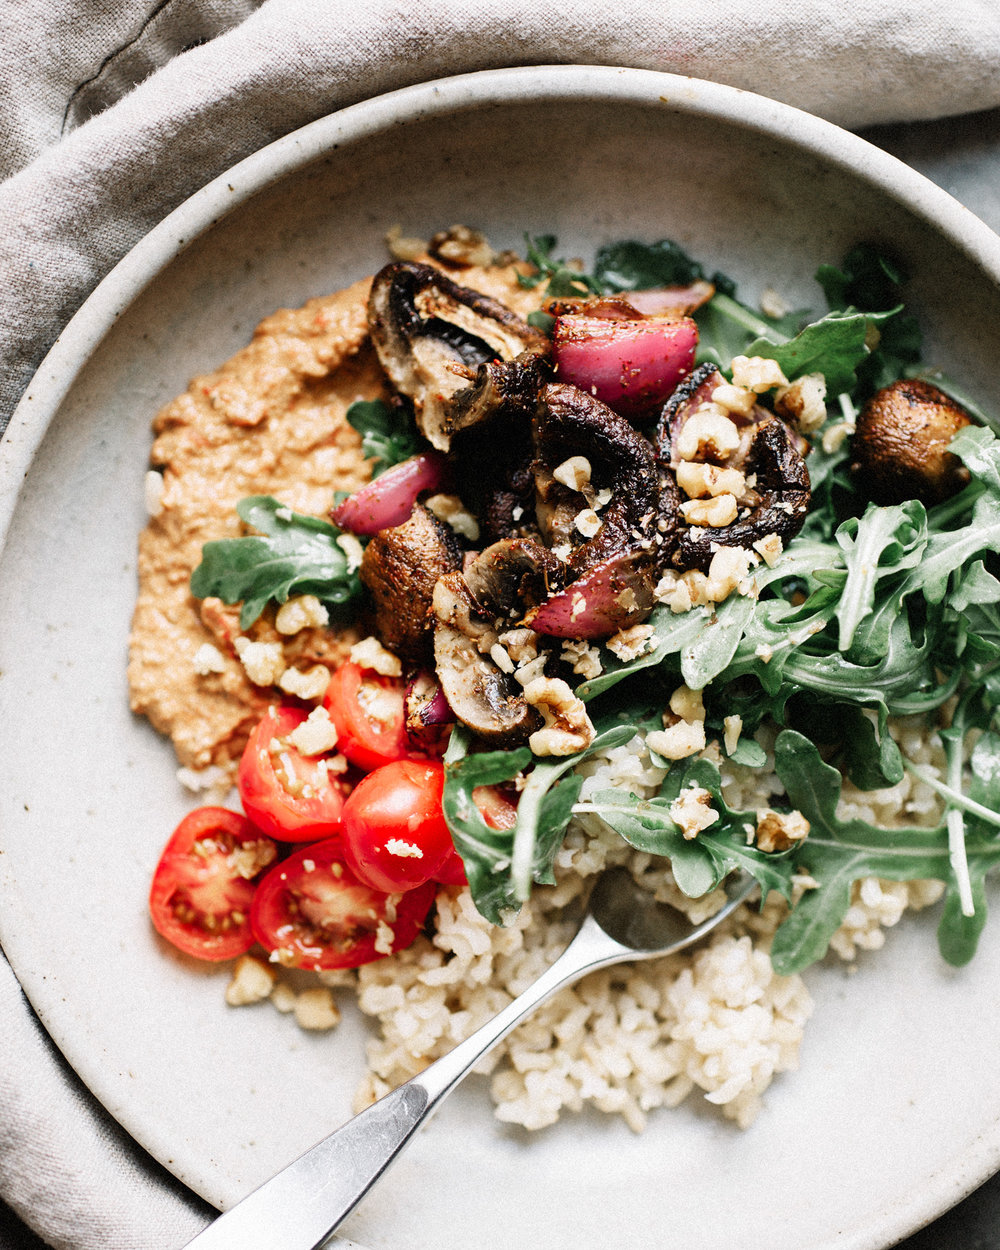
Stuck on an app idea that is not a cheese plate or veggies and hummus? Look at these cute little guys! So cute. I much prefer to entertain outside than in (I think we've sat at our dining table maybe twice?), so we've been inviting friends to join us for dinner more often. The appetizer is not the part of the meal I wish to put effort towards, and these little numbers take all of 10 minutes to put together and can totally be prepped ahead and dressed last minute. If you don't find yourself needing tiny things on a skewer, I put the extra bits of watermelon and cucumber over some arugula, add some salmon, the following feta vinaigrette and wa lah, dinner. 

I recently worked with 31 Bits on a shoot featuring some of their new kitchen line. I've been using the indigo plant-dyed napkins for summer dinners and a handful of other pretty items are up on their homepage at the moment. You can read more on their company on the about page, but the they're pretty awesome as a whole. A few local girls run it and their mission is to bring more job opportunities and fair wages to artisans all over the world. Anyway, we're doing a giveaway over here Wednesday through Friday if you want to participate. 

watermelon geometry
watermelon skewers

WATERMELON + CUCUMBER SKEWERS

Makes 12

The skewers shown are available at World Market or here.

Ingredients

2 Tbsp. minced shallot
1/2 tsp. dried oregano
1/4 cup fresh chopped mint, divided
2.5 Tbsp. white wine vinegar
4 Tbsp. extra virgin olive oil

2 ounces feta cheese
sea salt and fresh ground pepper

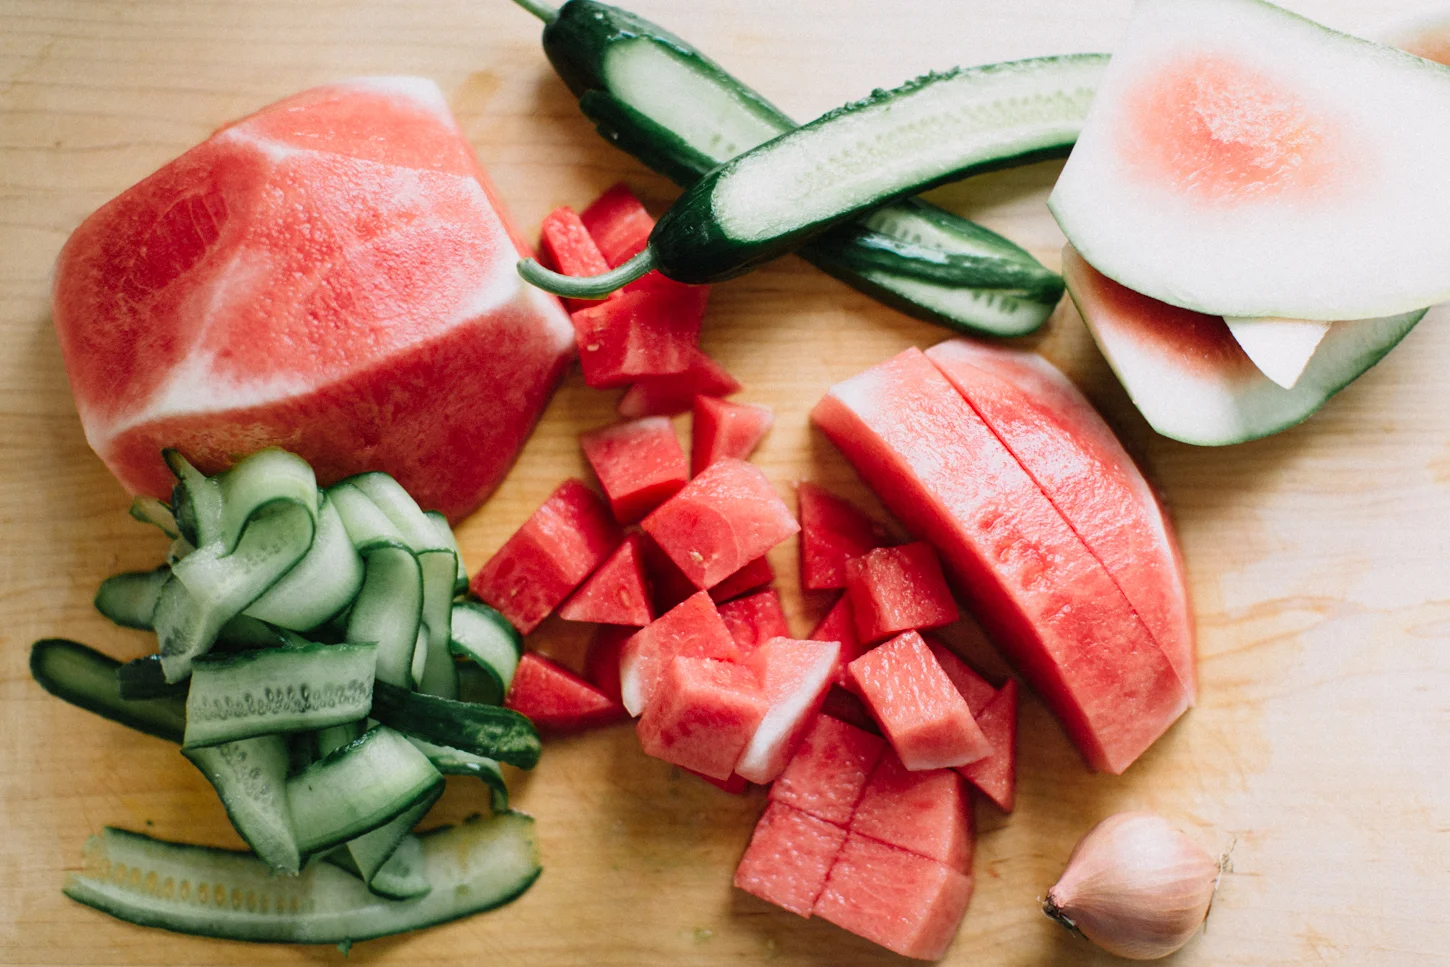
1 mini, seedless watermelon, cut in 1” cubes
3 Persian cucumbers

Instructions

In a small mixing bowl, combine the shallot, oregano, half of the mint, vinegar, oil and a pinch of salt and pepper. Give it all a stir. Crumble in the feta and give it another stir, a few chunks are ok. 

Shave the cucumbers into strands with a vegetable peeler, lengthwise. Assemble them on the skewer by putting a cube of watermelong, folding a slice of cucumber like an accordion, and then another cube of watermelon on top. Arrange them on your serving tray and drizzle the feta vinaigrette over the top. Garnish with a sprinkle of fresh mint, a grind of fresh pepper and serve.

watermelon cucumber platter
watermelon cucumber appetizer
Print This Recipe

Entrée, Summer, Winter

PIZZA DOUGH

pizza crust . margherita . sprouted kitchen

Not to be bossy, but you need to read the notes and the recipe all the way through. Lots of words, but I've messed this up enough times that I want to pass down everything I've learned by trial and error of making pizza at home. I typically don’t do fussy, but there are a few steps here and the wait times between them are worth noting before you start. Nothing is difficult, but it's worth a heads up before you jump in.

I know, I’m asking you to plan ahead a day, ideally two if you can stand it... As it sits, the dough ferments, which is the element that adds flavor to a simple mixture of flour, water and yeast. The only way to impart flavor into something as simple as plain pizza dough is time, so while it will still work if you use it a few hours later, it tastes better, and there are more air bubbles the next day and it is best the day after that. The upside of that wait time is how quickly it comes together in the first place. Prep it Sunday, for pizza on Tuesday night. 

You may absolutely use unbleached all purpose flour for this recipe. My tests came back with more bubbles and a lighter feel when I used either bread flour or tipo “00”, both available at Whole Foods, well stocked markets, and online. You want a high protein content for bubble characteristics and these flours deliver. I really enjoyed this pizza article, regardless that it scolded me for my lack of using a scale. See that photo with the cold ferment?! That's what we're doing here. 

Homemade pizza will never turn out like a shop with a legit pizza oven, because it is impossible for a home oven to get that hot. When we moderate our expectation for such, the results are delicious. The photos here don't show any beautiful dark marks on the crust because I used the toaster oven for this pizza, which was the least hot choice. It's so hot and humid here I just couldn't blast the oven mid day :/ I put a few notes below on what we do on the grill versus the oven too. I like keeping the meal outside whenever possible, but a grill doesn't get the top as hot as the bottom so the toppings don't get at much heat and the cheese doesn't really brown. For that reason, I always vote a piping hot oven over a grill. 

For company? I'll have a big, light salad ready to go (usually arugula, shaved fennel, toasted pinenuts and golden raisins with a mustardy vinaigrette). One pizza goes in, out, rests a few minutes while the other cooks, and I just serve them straight off the cutting boards. 

pizza crust . dough in the mixed . sprouted kitchen
pizza crust . sprouted kitchen

PIZZA DOUGH

Makes about 3 medium-ish pizzas

I know. I should be using weights. Real cooks use weights. I'm a shoot-from-the-hip sort of cook, not a chef, and therefore have not been weighing my flour. Sorry. I leave mine to ferment on the wetter, stickier side, and assume that more flour will incorporate during the roll out phase. 

Ingredients

1 tsp. active dry yeast
1 1/3 cups warm (not hot) water
2 tsp. honey
1 Tbsp. extra virgin olive oil, more as needed
3 1/2 - 4 cups bread flour or tipo “00”, plus more for rolling it out
1 tsp. sea salt

Cornmeal or semolina, for cooking

Instructions

Combine the yeast and warm water, and let it sit a couple minutes for the yeast to activate. If you don't get any bubbles or fuzz layer, your yeast may be bad. Stir in the honey and olive oil. 

In the bowl of a stand mixer with a dough hook, add the flour and salt. Turn the mixer on low and stream in the water mixture. Mix the dough for 2 minutes. Scrape the dry flour down into the mix if you need to. Let it rest for a minute, then mix it another minute. The dough should look sticky but still resemble a loose ball. Add a tablespoon of water or flour accordingly, it is safer to lean towards wetter than drier as you won’t be able to work water in later, but you can always use more flour to roll it out. When you touch it, your hands will get messy, but you should be able to transfer the lump into an oiled bowl.

Transfer the dough to an oiled bowl, cover it, and keep it in the fridge for one (minimum) to three days (ideal). 

Don’t even give it a second thought. Its just hanging out in there, needing zero attention.

On the day of pizza making, pull the dough out 3-4 hours before cooking. Cover a surface with a generous dusting of flour. Divide the dough into three parts, roll them through the flour and into balls, cover them with a dish towel and let them rise for anywhere from 30 minutes to an hour. Weather and humidity pending. Preheat your grill or oven as hot as it will go. Preheat the pizza stone or baking sheet if using. Prepare your toppings.

When ready to cook, use your hands to push and stretch the dough super thin. Use a rolling pin if needed, but that pressure pops all of the bubbles. It poofs as it cooks, so the thinner the better. Try not to touch the outer 1/2” in hopes of keeping the air bubbles in tact. 

Sprinkle cornmeal or semolina onto the hot stone or baking sheet. Have your toppings ready because you need to work fast here. If you have a pizza peel, sprinkle cornmeal on that, then your dough and assemble on the peel (we don't have one, so I do this on a cutting board and scoot it onto the stone). Shuffle your pizza from the peel to the hot stone/pan. 

Bake it in your 500 oven for about 10-12 minutes. Remove to cool slightly before slicing. Save any fresh herbs and a sprinkle of parm for finishing. 

* If I'm going with some heavier or wetter toppings, I'll par bake it for a few minutes, then dress with sauce and toppings from there for safety against a soggy center.


Grill it!

On the grill, most of the heat is coming from the bottom. Preheat the grill on high for at least 30 minutes. When you’re ready to go, create a space for indirect heat by leaving one or two burners off (where your pizza will go, so this will depend on the size of your grill). Oil the grates, push out your dough and toss it on the side where the burners are ON. Let it get some grill marks, about 1-2 minutes. Flip the dough over onto the indirect side (burners off but still quite warm). Decorate the par-grilled side of your pizza, this is the time for extra easy sauce and extra easy toppings so they get the chance to warm through with that lower heat. Grill about 7-8 minutes until toppings are melted and warm. Remove to cool slightly before topping with fresh herbs. 

recent favorites:

- pizza sauce, grated zucchini (that has been salted and moisture squeezed out before using), fresh mozzarella (not water packed, preferably), parm, lots of herbs

- pizza sauce, goats milk cheese, roasted tomatoes, barely dressed arugula after cooling

- pesto, peaches, baby tomatoes, fresh mozzarella, red pepper flakes 


pizza crust . slice . sprouted kitchen
Print This Recipe

Entrée, Summer

GRILLED MUSHROOM BOWLS WITH MUHUMMARA

Mushrooms for Grilling

At a glance, this may look like a lot of steps, but once you go through the trouble of making this dip/sauce, it can be used in a handful of meals or as a delicious sandwich spread. It is so so delicious and great to have around, especially during grilling season. It is typically thickened with breadcrumbs, but I've found that oats can stand in to keep it wheat free. Use whichever you prefer and season to taste. The sauce can be made a few days in advance. 

Grilled Mushrooms

GRILLED MUSHROOM BOWLS WITH MUHUMMARA

Serves 4

Ingredients

muhummara:

1 large roasted red bell pepper (from scratch* or jarred, so 2 if those are small)
1/2 cup toasted walnuts, plus more for garnish
2 cloves garlic
1 Tbsp. tomato paste
1 tsp. smoked paprika
3 Tbsp. red wine vinegar
2 Tbsp. extra virgin olive oil
2 tsp. pomegranate molasses or honey
2 Tbsp. old fashioned oats
1/2 tsp. sea salt, to taste
pinch of red pepper flakes
pinch of fresh ground pepper

4 skewers:

16 oz. baby mushrooms (white or cremini)
1/2 a red onion, cut in roughly 2" pieces
2 Tbsp. avocado oil
1/2 tsp. each sea salt, pepper, dried oregano, smoked paprika

2 cups cooked brown rice
2 cups greens
baby tomatoes, halved

* To make a roasted bell pepper from scratch. Roast it over the flame of the stove, or a bbq on high heat, rotating it every four to five minutes to get all sides. About 15 minutes total. You want all sides charred and the pepper to feel tender. Remove it to a bowl and cover it with a dishtowel or plastic wrap and let it cool completely. This will help the outer charred skin separate from the flesh. When it's cool, run it under water to help push the charred skin off, remove the stem and seeds, and use as directed below. 

Instructions

Combine all of the muhummara ingredients in a food processor - the charred pepper, walnuts, garlic, tomato paste, paprika, vinegar, oil, pom molasses or honey, oats, salt and pepper. Pulse until blended and combined. Add a lil splash of water to loosen it, it will firm up in the fridge. 

Heat your grill or grill pan to medium high heat. Wipe the mushrooms clean with a damp paper towel and remove the stems. Put them in a mixing bowl with the onions, drizzle the oil on top, add the salt, pepper, oregano and paprika and toss everything to coat. Thread the vegetables on the skewers. Grill, rotating a few times, for about 10-15 minutes until charred and beginning to soften. 

To assemble the bowls, arrange a big swipe of the sauce, portion of rice, a handful of greens (toss them in a drizzle of oil and lemon juice if you're able), tomatoes, a skewers worth or two of mushrooms and garnish with a few more walnuts. 

Grilled Mushrooms Bowls with Muhummara . Sprouted Kitchen
Print This Recipe