It has been a busy cookbook season! I spent last night reading through the Ottolenghi Test Kitchen Cookbook and am revisiting everything I have bookmarked in Aran’s Cannelle et Vanille Bakes Simple while it is rainy this week and we can work on some baking projects. If you eat gluten free, by need or choice, Aran is your gal. You may know her from her gf sourdough tutorials on instagram.
Aran is one of my favorite food people. Most importantly, she is a lovely and generous person. Just as humble and charming as her photos lead you to believe. Her photos are romantic, the recipes are clear and uncomplicated and she offers subs for all sorts of dietary issues. She is the gluten free baking master, and always where I go for reference. The book does call for some specialty flours, but if you cook gluten free and make a few things from her book, they won’t go to waste. My favorites have been the Lemon Curd, Lemon Pound Cake, Double Chocolate Crinkle Cookies and this toffee! I love how short the list of ingredients is, you may even have everything to make a batch today.
Congrats, Aran!
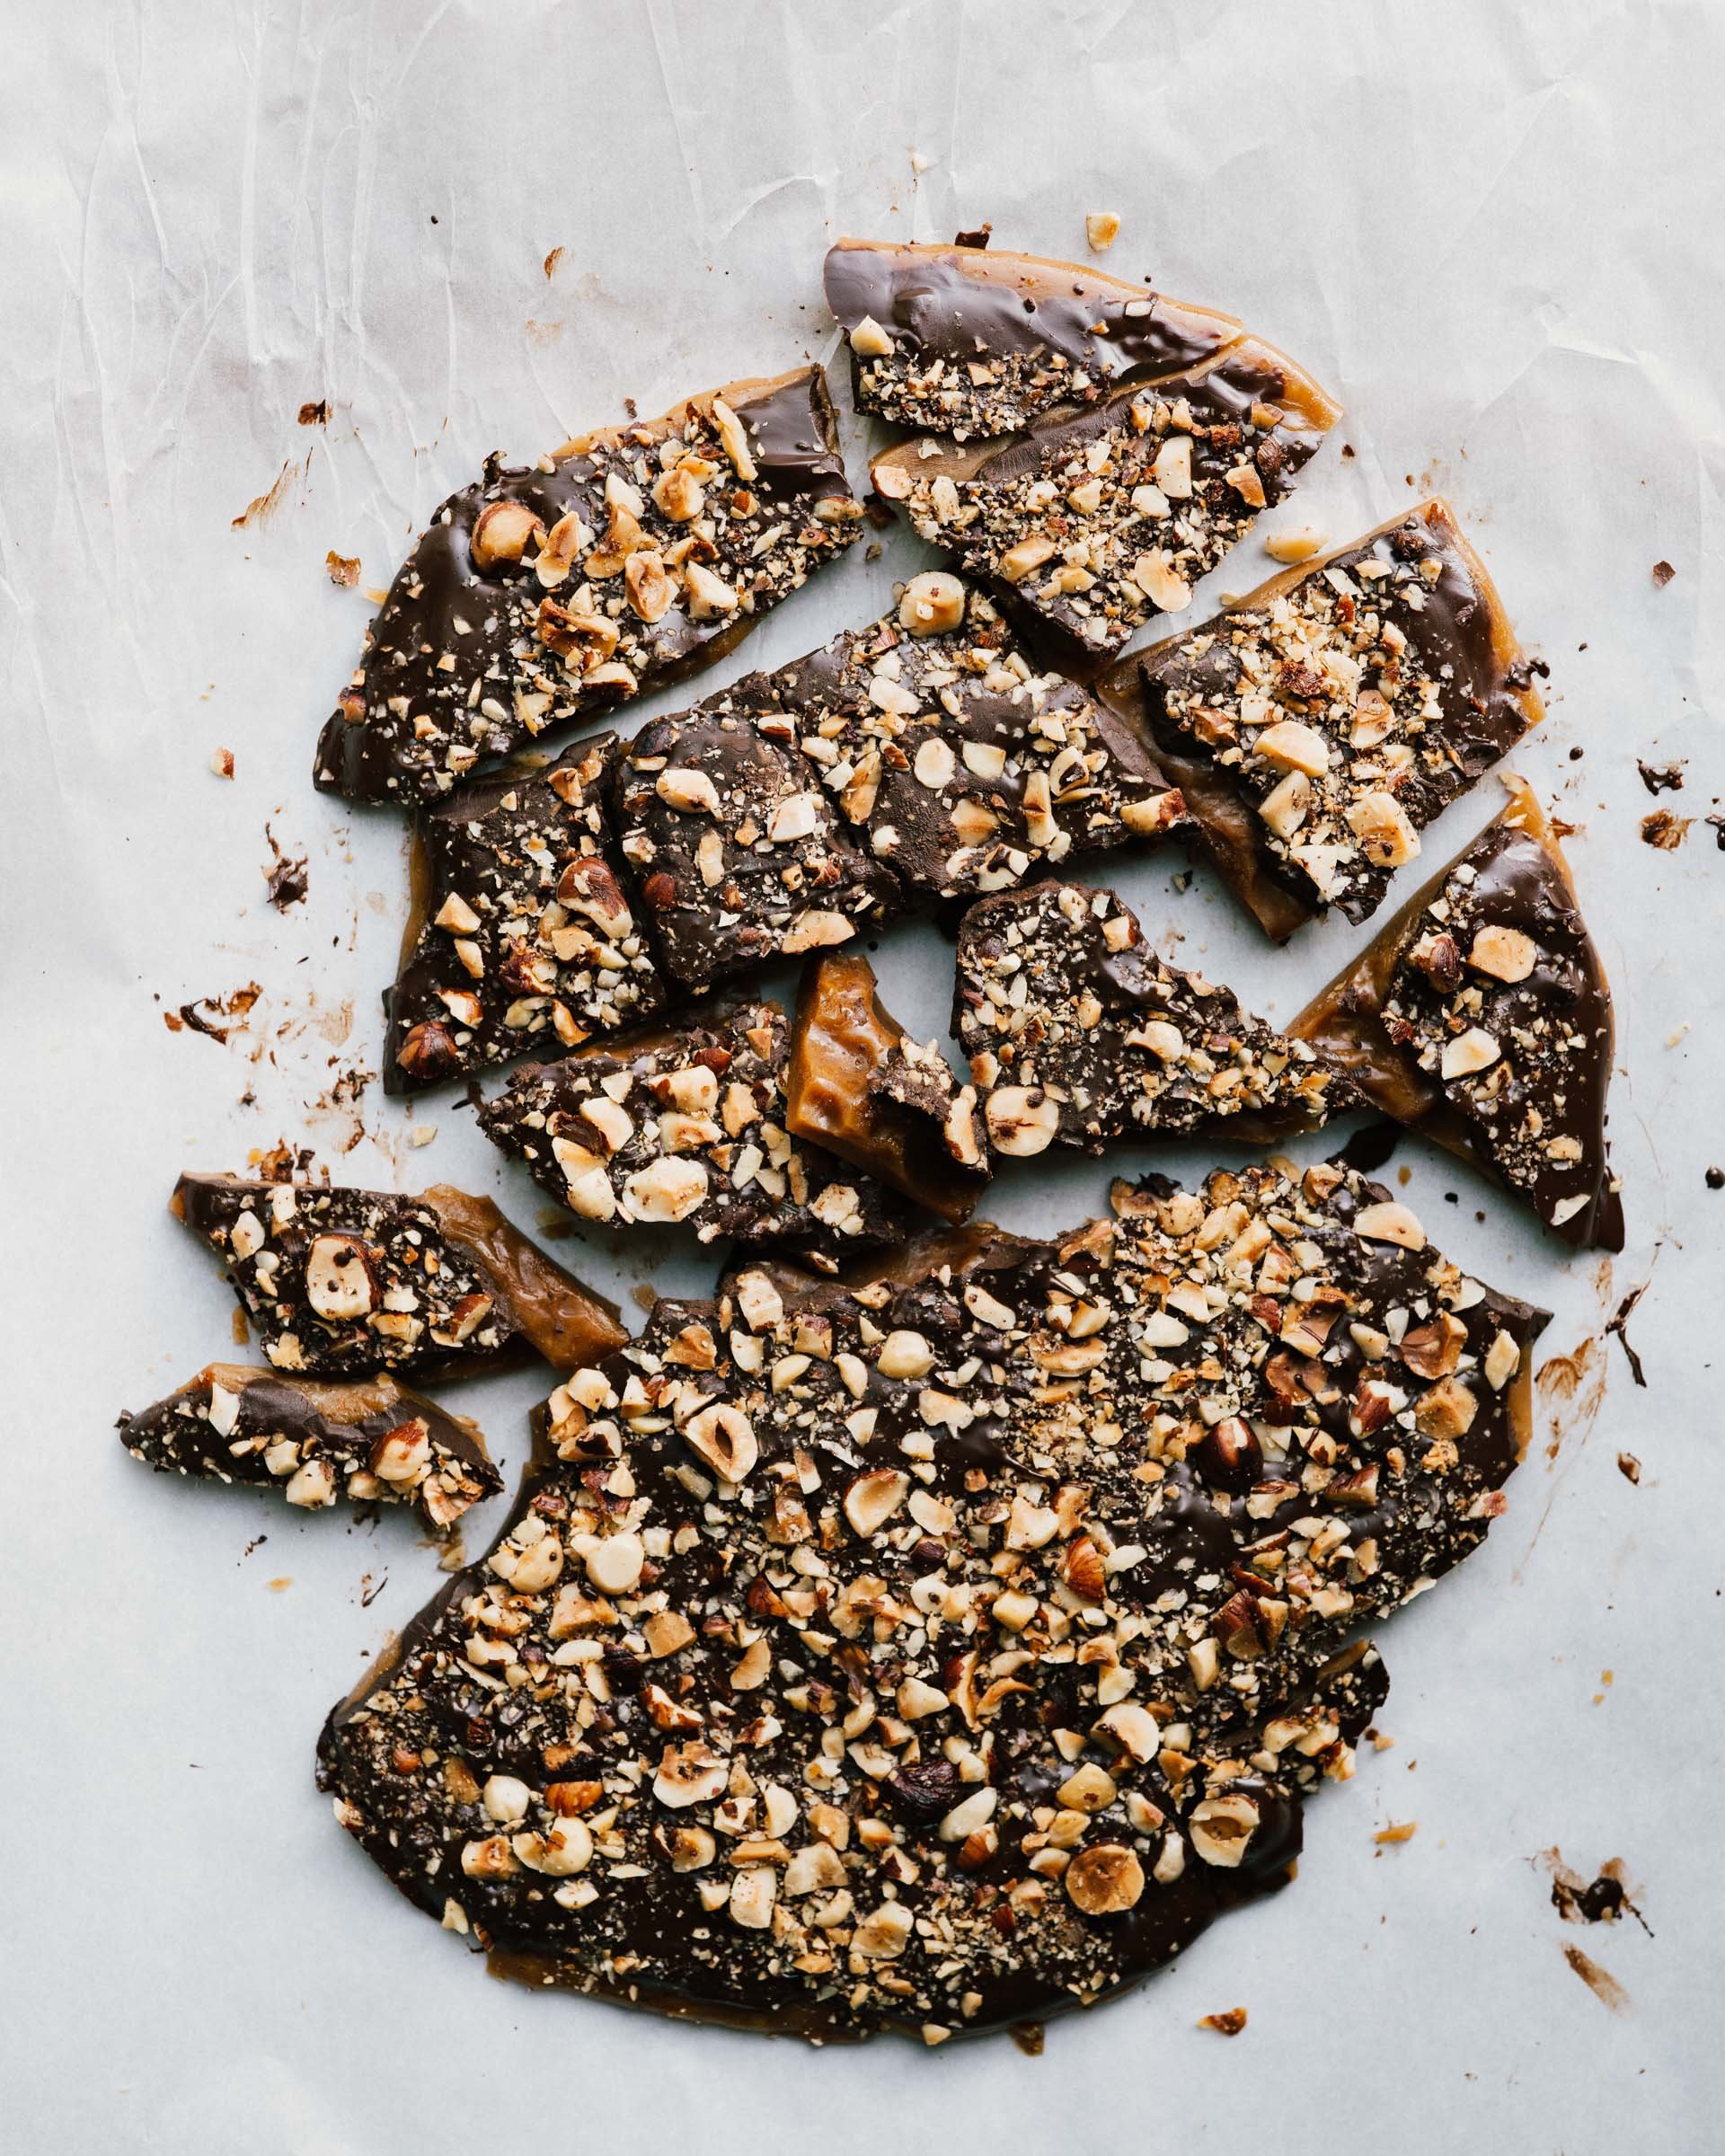
CHOCOLATE-HAZELNUT TOFFEE
Makes one 9x13 pan
This makes an excellent gift around the holidays. We kept it in the fridge for when you just need a sweet nibble after a meal. If you are nut free, you can sub in some candied pepitas or some crushed candy canes and cocoa nibs on top.
Ingredients:
¾ cup (100 g ) raw hazelnuts
1 cup unsalted butter (or dairy free butter) cut into cubes
¾ cup sugar
½ cup light brown sugar
¼ cup water, room temperature
½ tsp. Kosher salt
2 tsp. Vanilla extract
¼ tsp baking soda
4 ounces 70% chocolate, finely chopped
Instructions:
Preheat the oven to 325’ and line a large rimmed baking sheet with parchment paper.
On a second sheet, spread the hazelnuts and roast for 15-20 minutes, until fragrant and golden brown. When they are cool enough to handle, transfer them to a large kitchen towel and rub together to loosen their skins. Once they’re mostly peeled (a bit of skin is ok), transfer them to a food processor and pulse a few times to roughly chop. Set aside.
In a medium saucepan, stir together the butter, both sugar, water and salt. Cook over medium-high heat, undisturbed, until it registers at 300’, about 15 minutes. The mixture will be dark brown and smell caramelized. Remove the pan from the heat and carefully add the vanilla, it will splatter. Stir in the baking soda until it is distributed - do not overmix. You want to preserve some of that gas.
Pour the toffee onto the prepared baking sheet and spread it evenly with a spatula. Sprinkle the top with the chopped chocolate. The heat of the toffee will melt it. Spread it evenly with a spatula. Distribute the chopped hazelnuts across the top and press down so they stick into the chocolate.
Let the toffee cool completely for a few hours, or speed up this process in the fridge. Break the toffee into pieces and store in an airtight container for up to a month.
©2021 by Aran Goyoaga. Excerpted from Cannelle et Vanille Bakes Simple by permission of Sasquatch Books.