Chocolate, Dessert, Summer

ICE CREAM COOKIE SANDWICHES

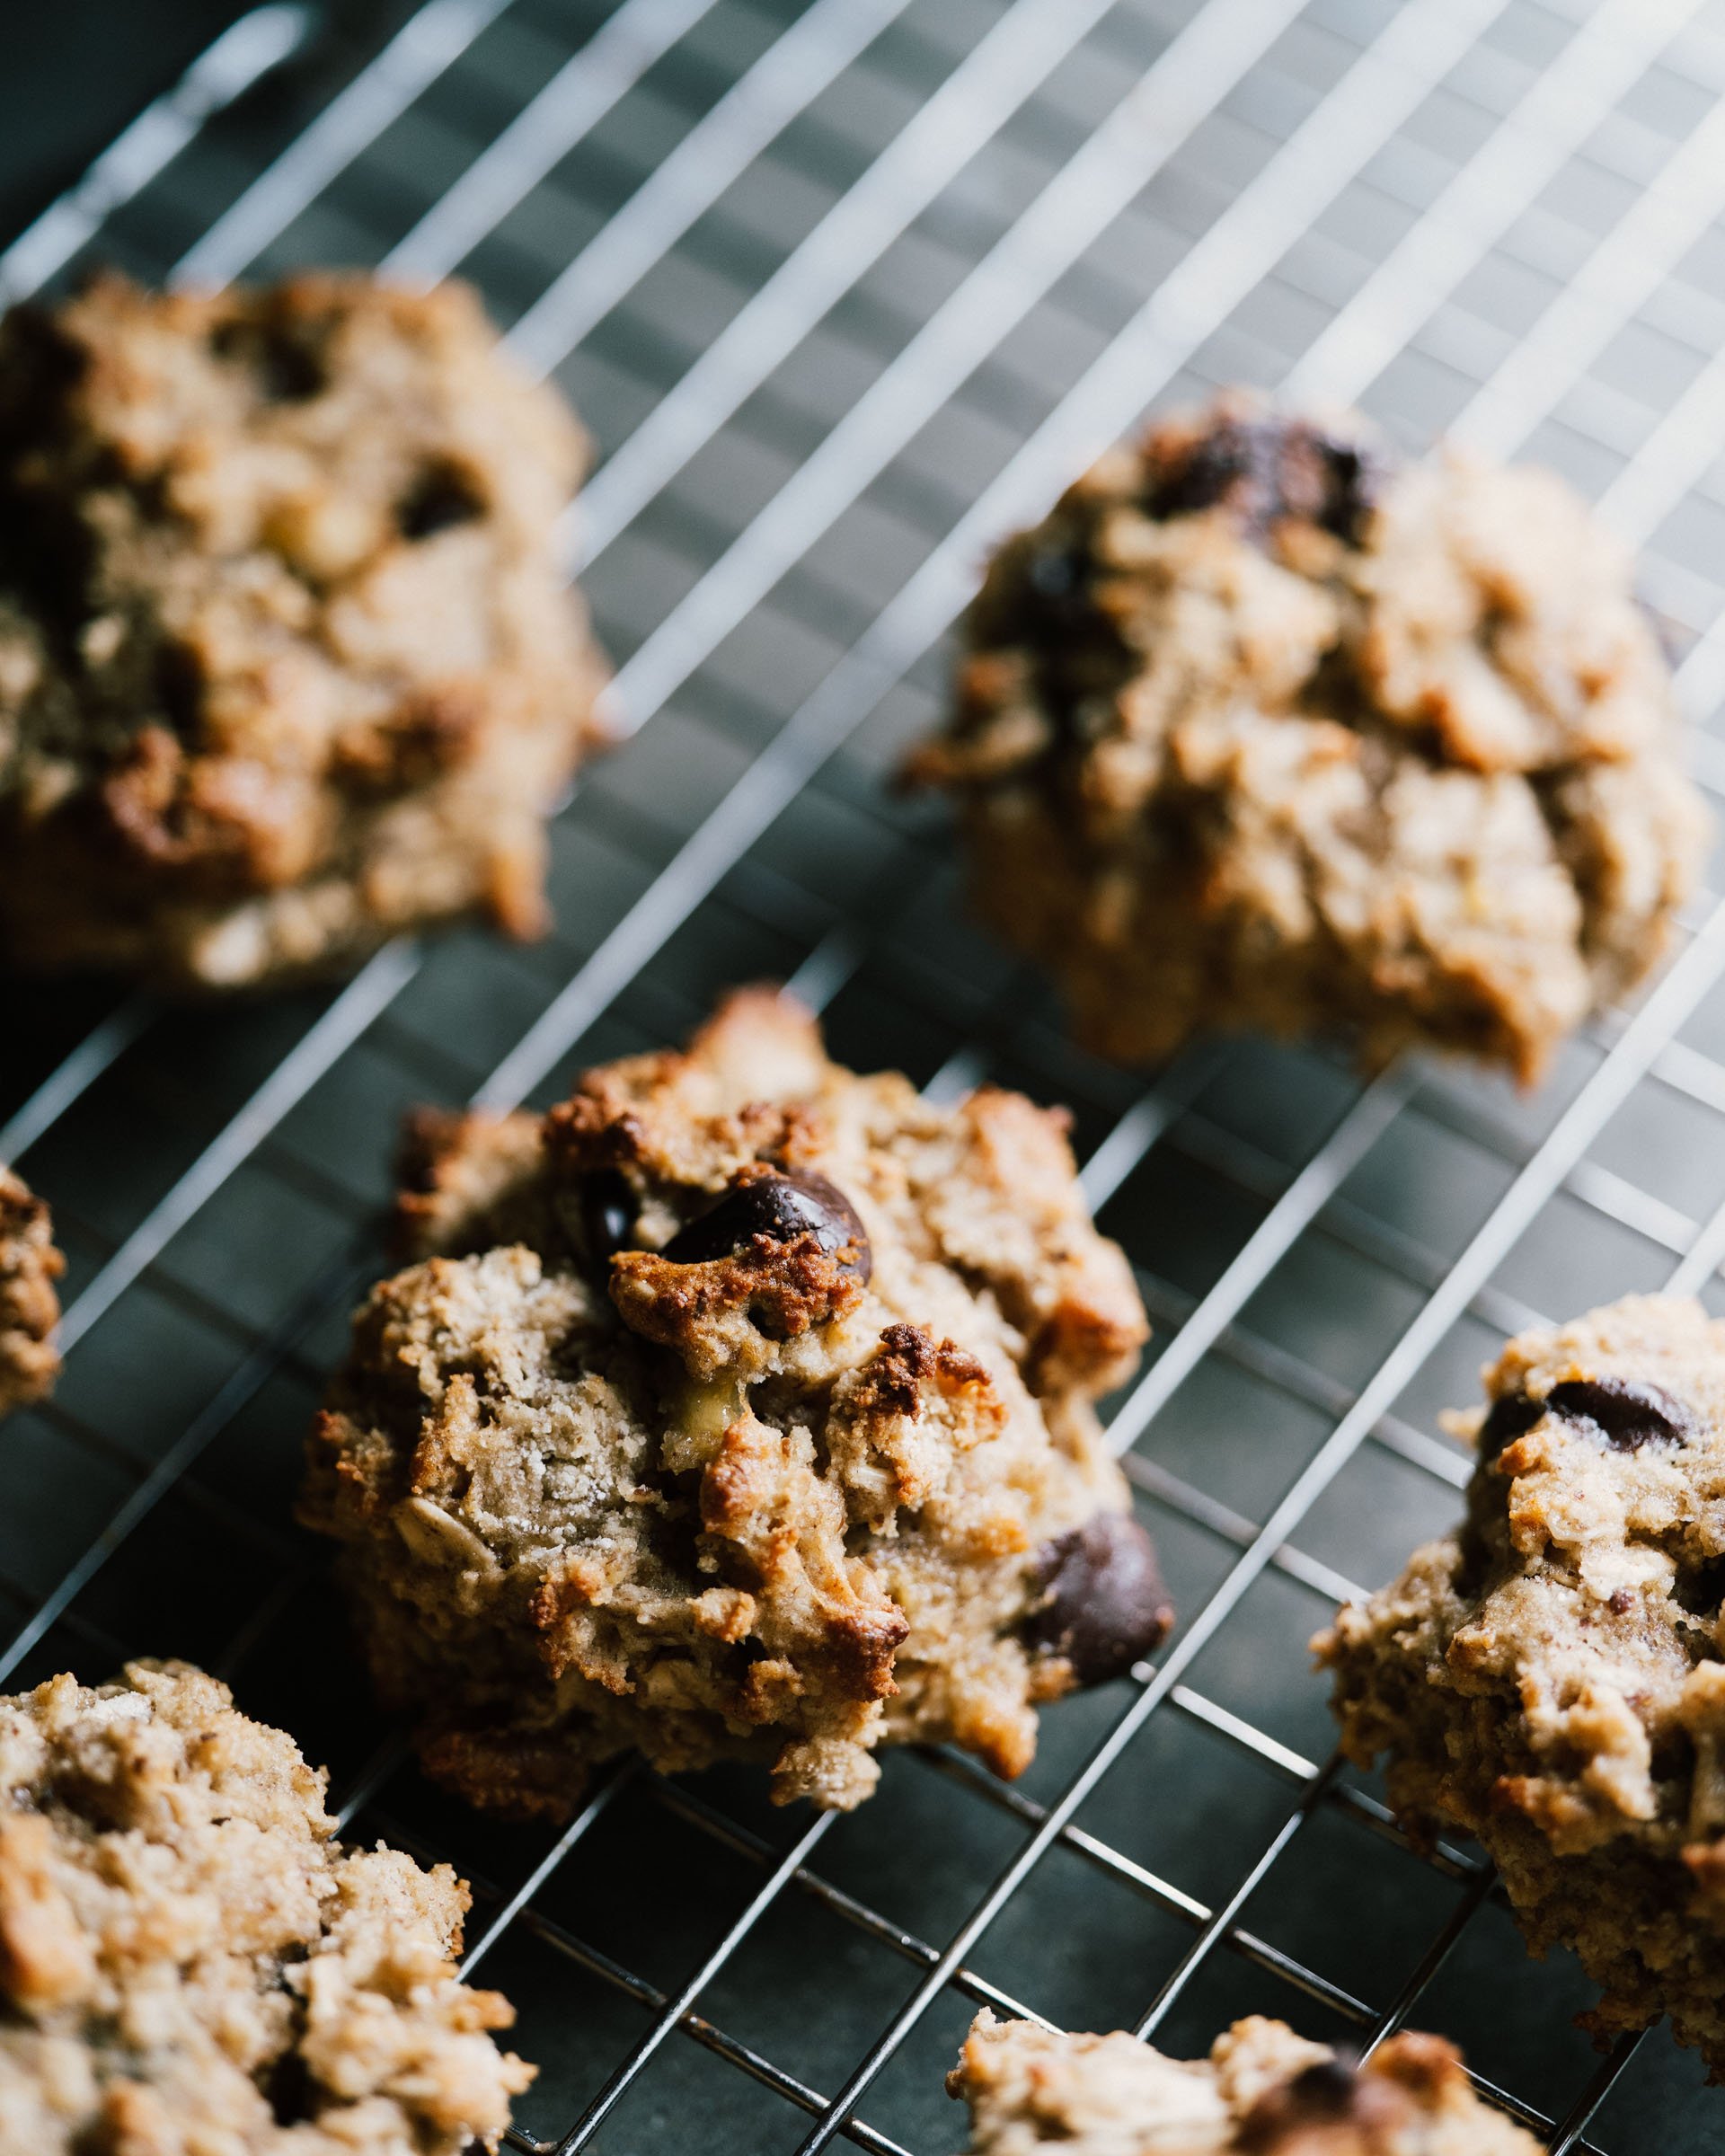
There was a recent article in Bon Appetite with some recipes for making perfect cookies for ice cream sams. They were thin and crisp, one of which read a bit overly fussy to me, but I can appreciate the extra effort to get something just right. That is not my life right now, I'm more about ease and speed, but I appreciate it. They looked pretty and would undoubtedly be delicious, but I'm quite happy with our current "house cookie" acting as book ends to a creamy scoop of ice cream... or as a skillet cookie, I'll put those notes below. The recipe started at Tara O'Brady's chocolate chip cookies but they're looking pretty far from her original at this point, so I'll leave you her words here. I replace some of the flour with oats and reduce the leaveners for this reason (and also because I don't want a poofy cookie for an ice cream sam). I skip browning the butter out of sheer laziness, though I assume you could handle that step if you wish. I also let the dough sit overnight a la Jacques Torres which he swears makes all the difference and is habit for me now. All sorts of cookie science here on Serious Eats. 

I made these for a dinner with friends, which is great because a sit in the freezer is necessary, making them a great make-ahead dessert. When you eat them straight off assembly, the cookie and ice cream are both too soft and they make a big mess. When you assemble them, and then freeze them again together, they become the same temperature/consistency, so they are just easier to eat. Because thin and crispy is also delicious and homemade is not always possible, in a pinch, the Tate's cookies (or gluten free chocolate chip ones from Trader Joes which are private labeled from Tate's) are perfect. Just have dinner with friends, that's the important part. xo

ice_cream_cookie_sandwiches_02.jpg

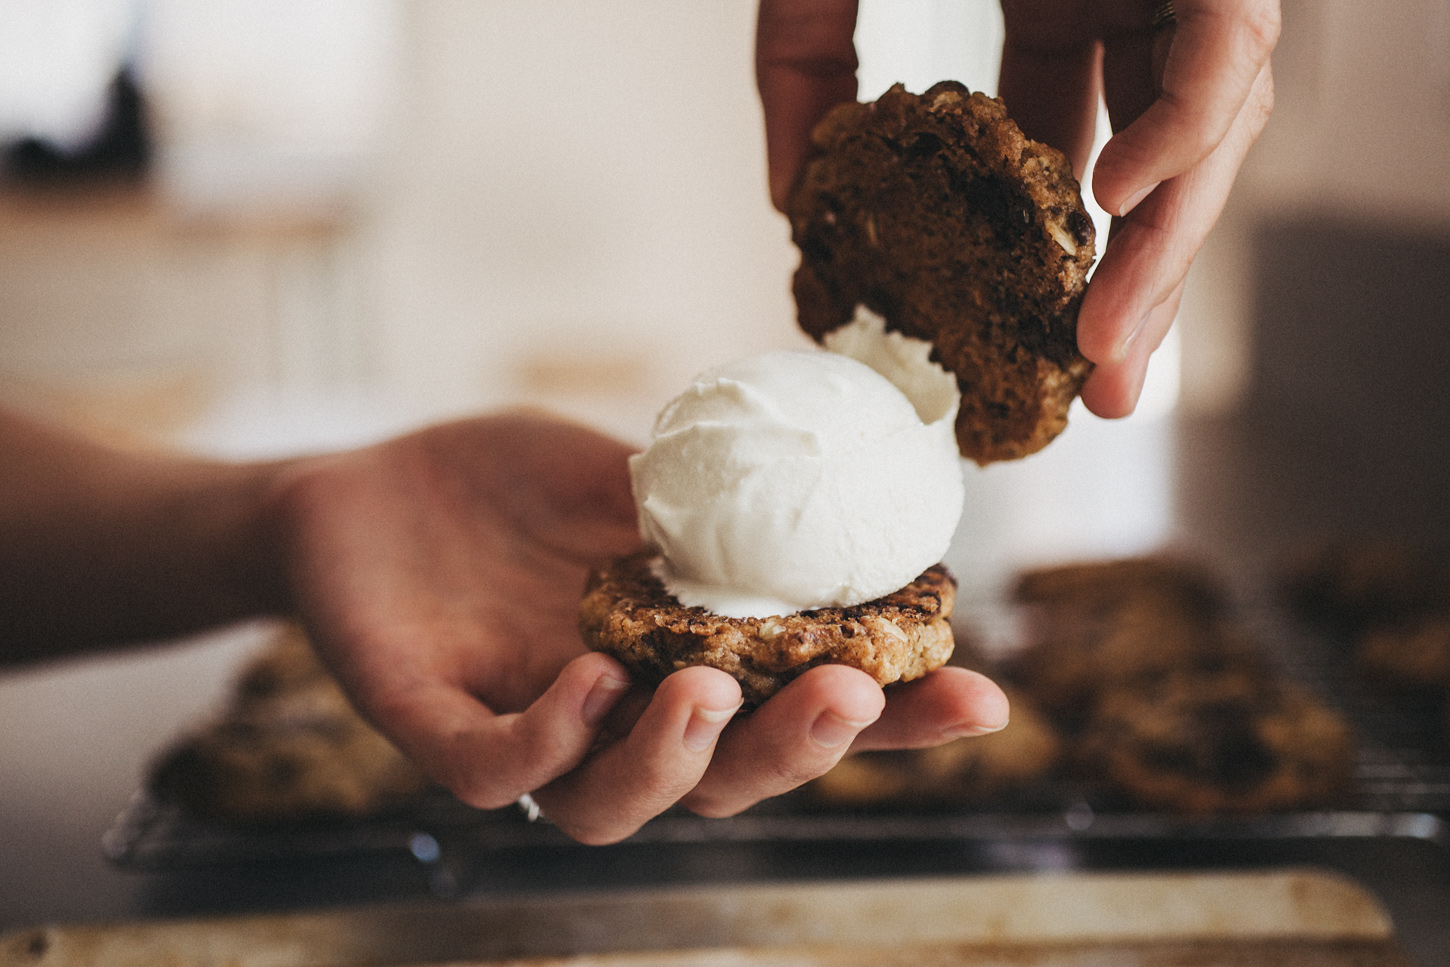
ICE CREAM COOKIE SANDWICHES // Makes 14ish
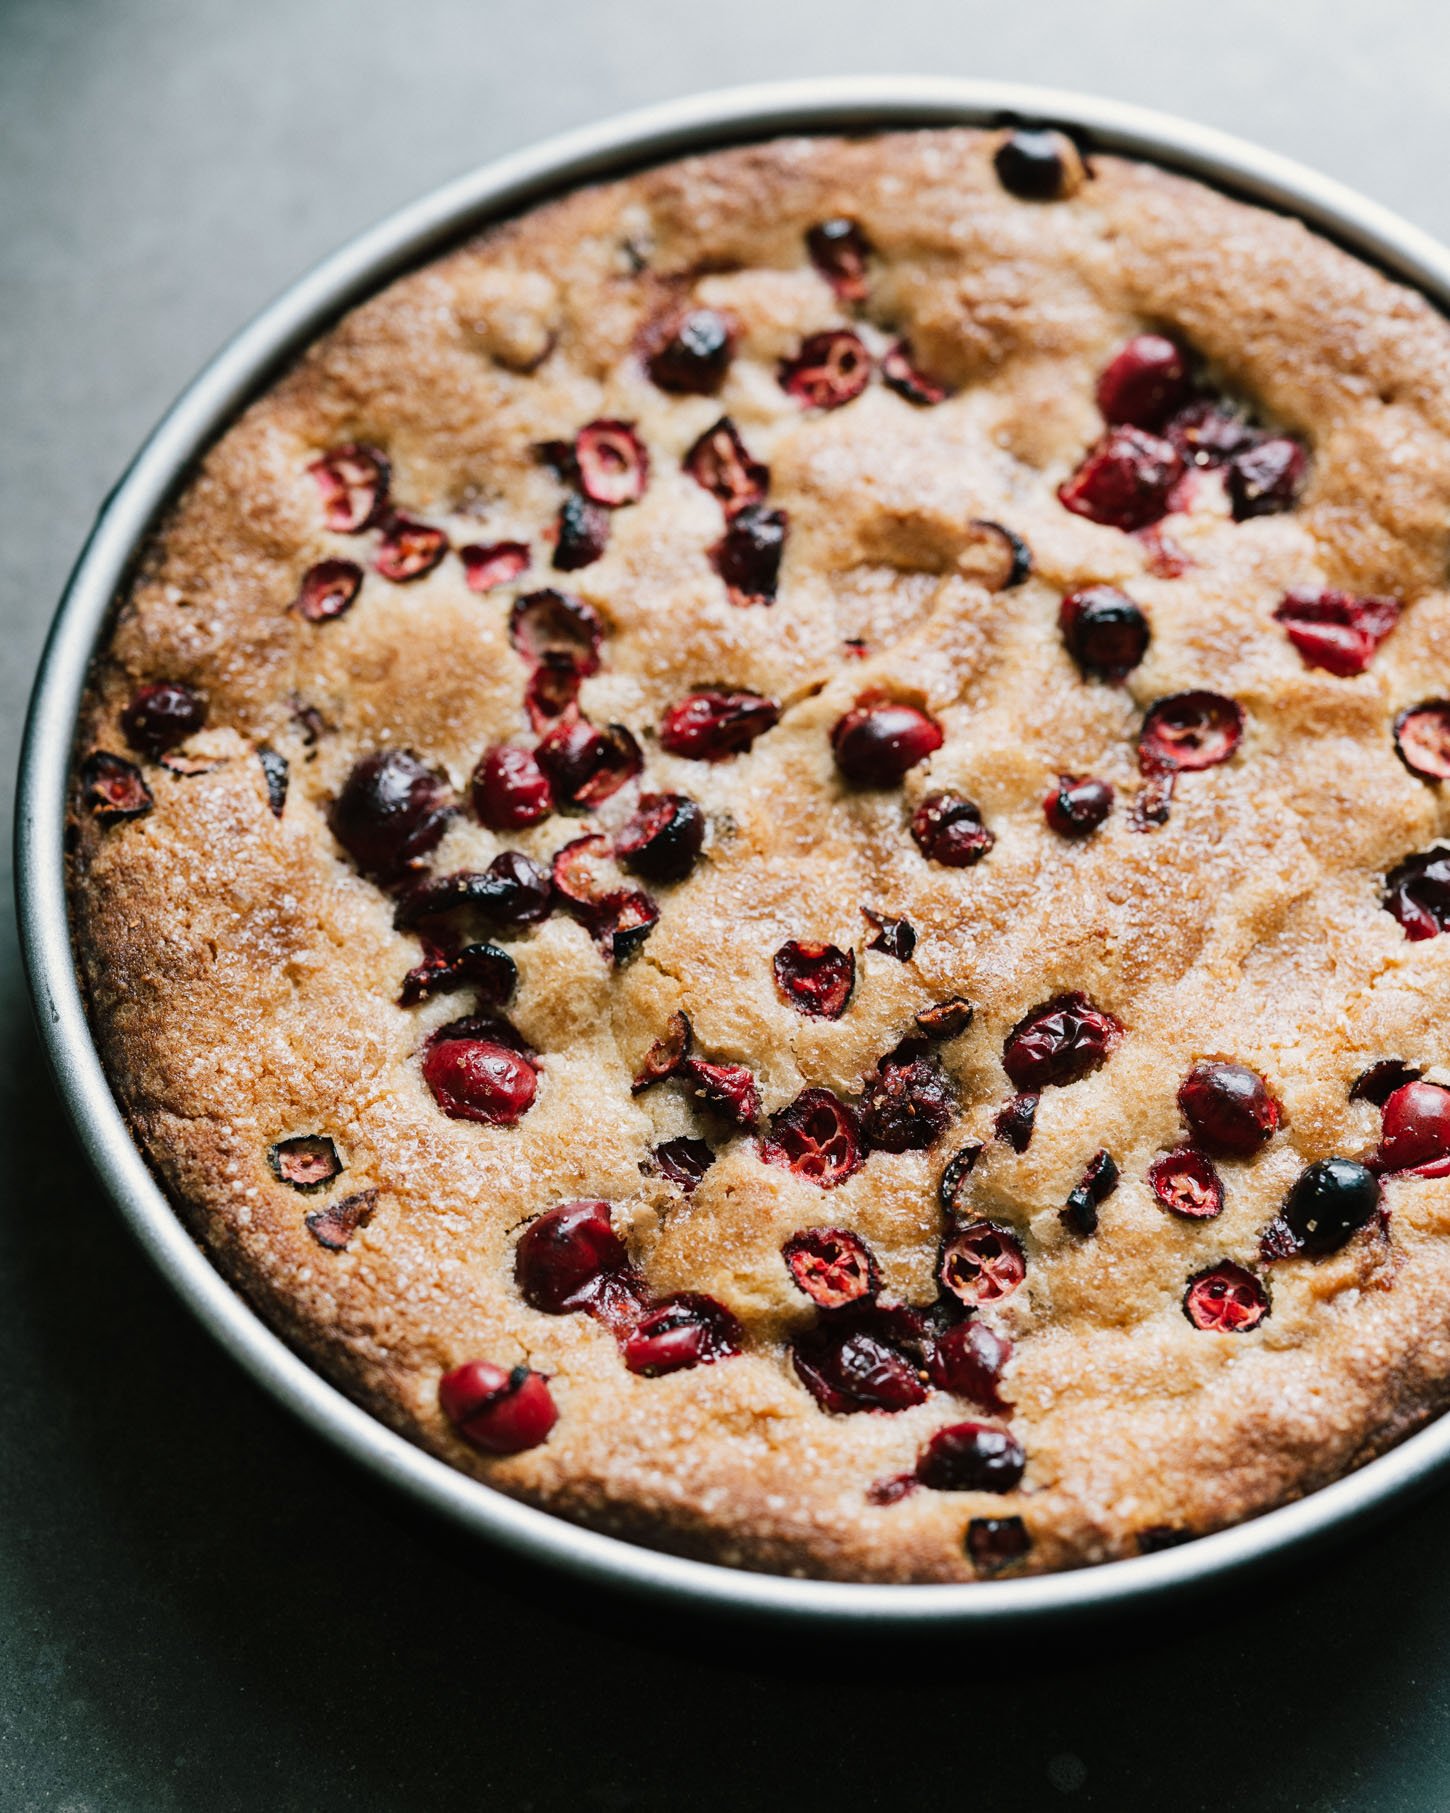
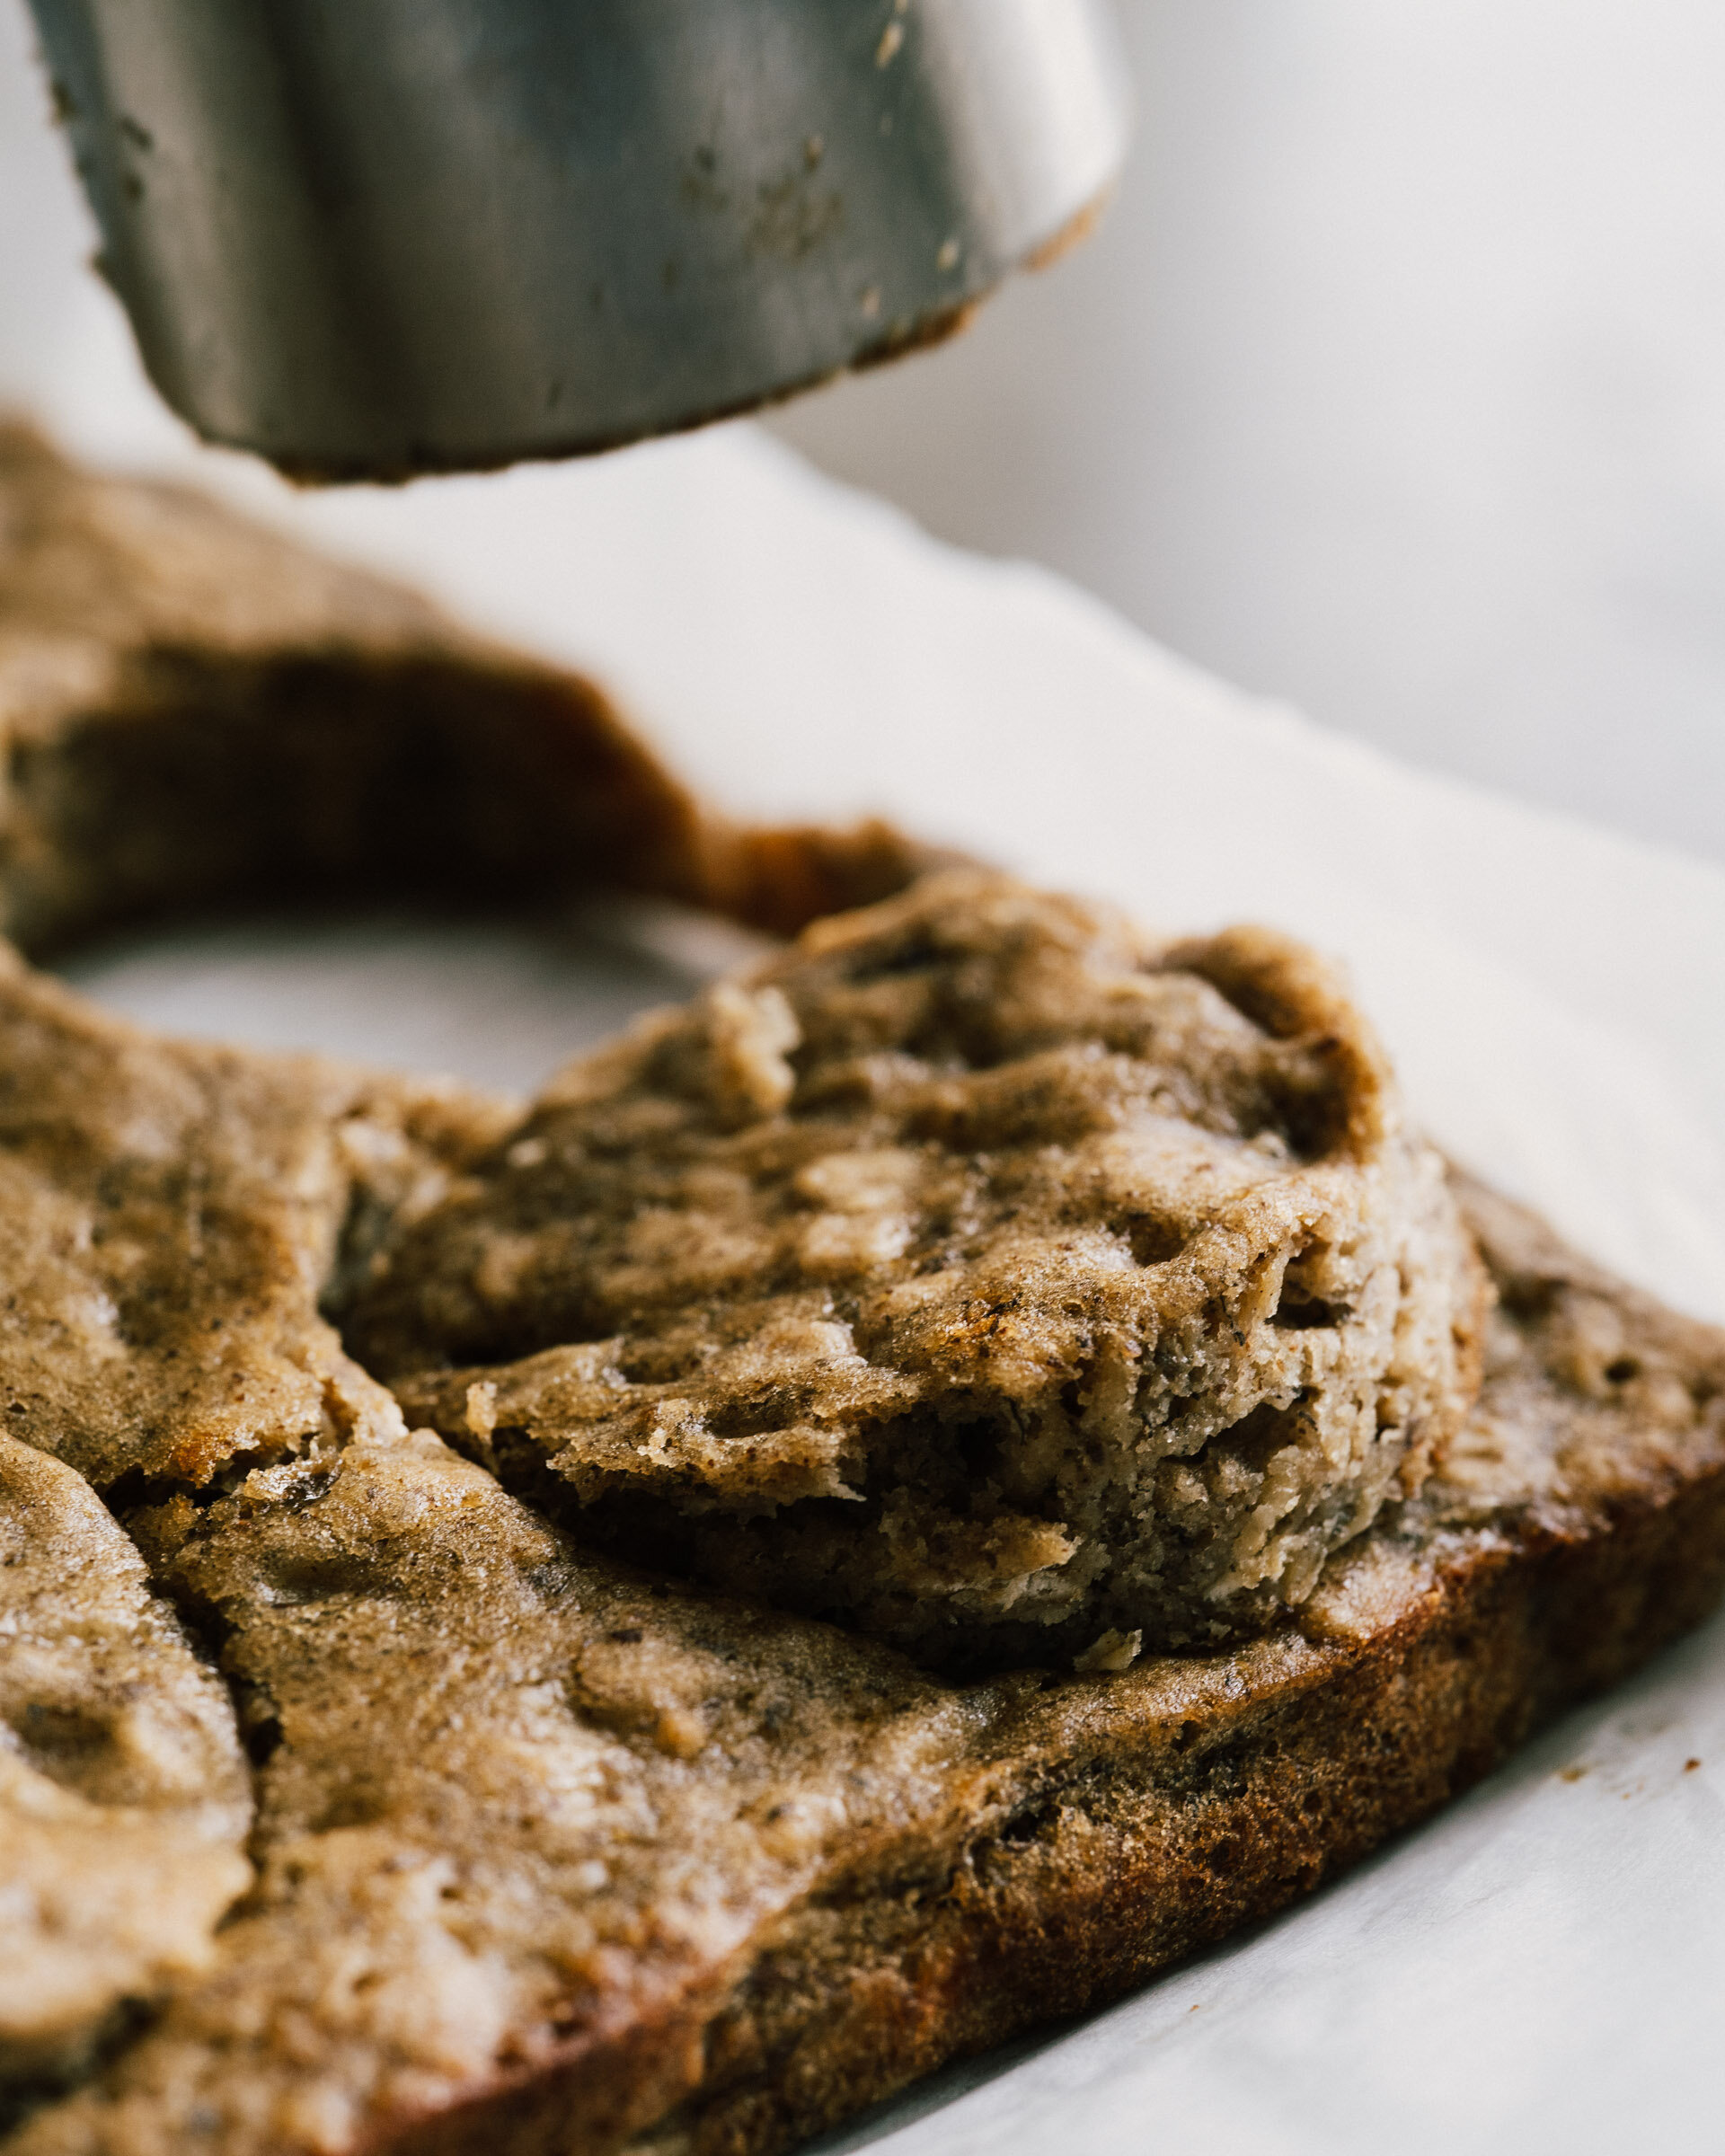
To make this a skillet cookie, simply press half the dough into an 10" skillet and cook it at 325' for about 20 minutes or until the edges begin to brown. The center will still look tender but that's ok, it will set more as it cools. Let it rest for 10 minutes before topping it with ice cream and serving.  
You can halve this cookie recipe and end up with about 16 cookies/8 sandwiches. Specifics will depend on how big you make your dough balls. 

2 sticks/ 1 cup unsalted butter, room temperature
1 cup brown sugar or muscavado sugar
3/4 cup natural cane sugar
2 eggs, room temperature
1 tsp. sea salt
2 tsp. vanilla extract
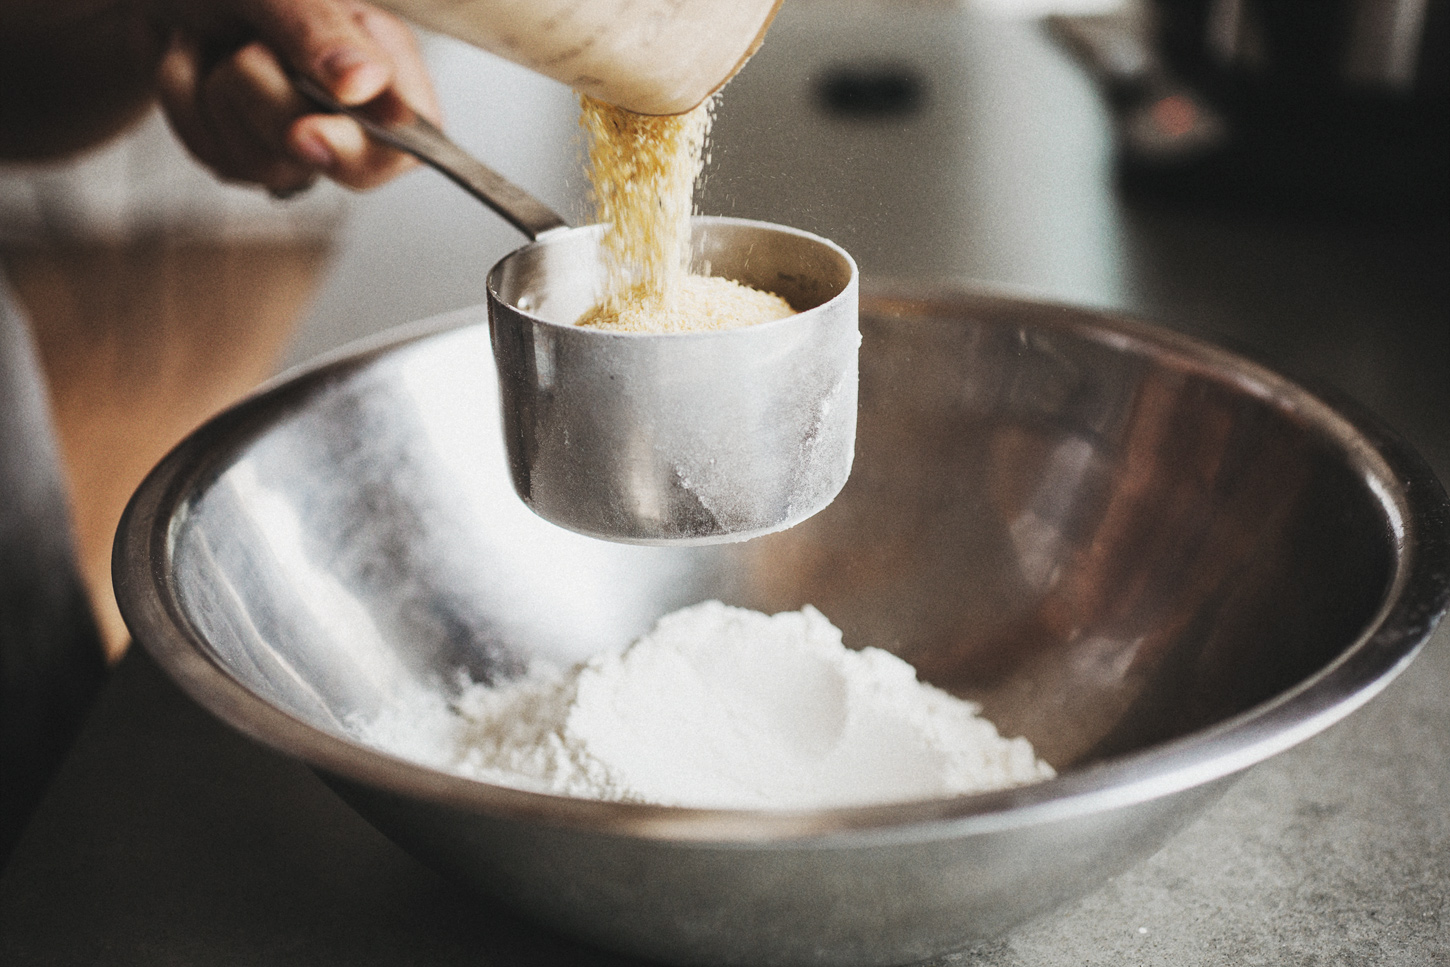
1 cup old fashioned oats
2 1/4 cups unbleached all purpose flour
3/4 tsp. baking soda
1 tsp. baking powder
12 ounces semi-sweet chocolate, chopped or chips
flaky salt, for finishing
1 quart vanilla bean, coffee, or chocolate chip ice cream

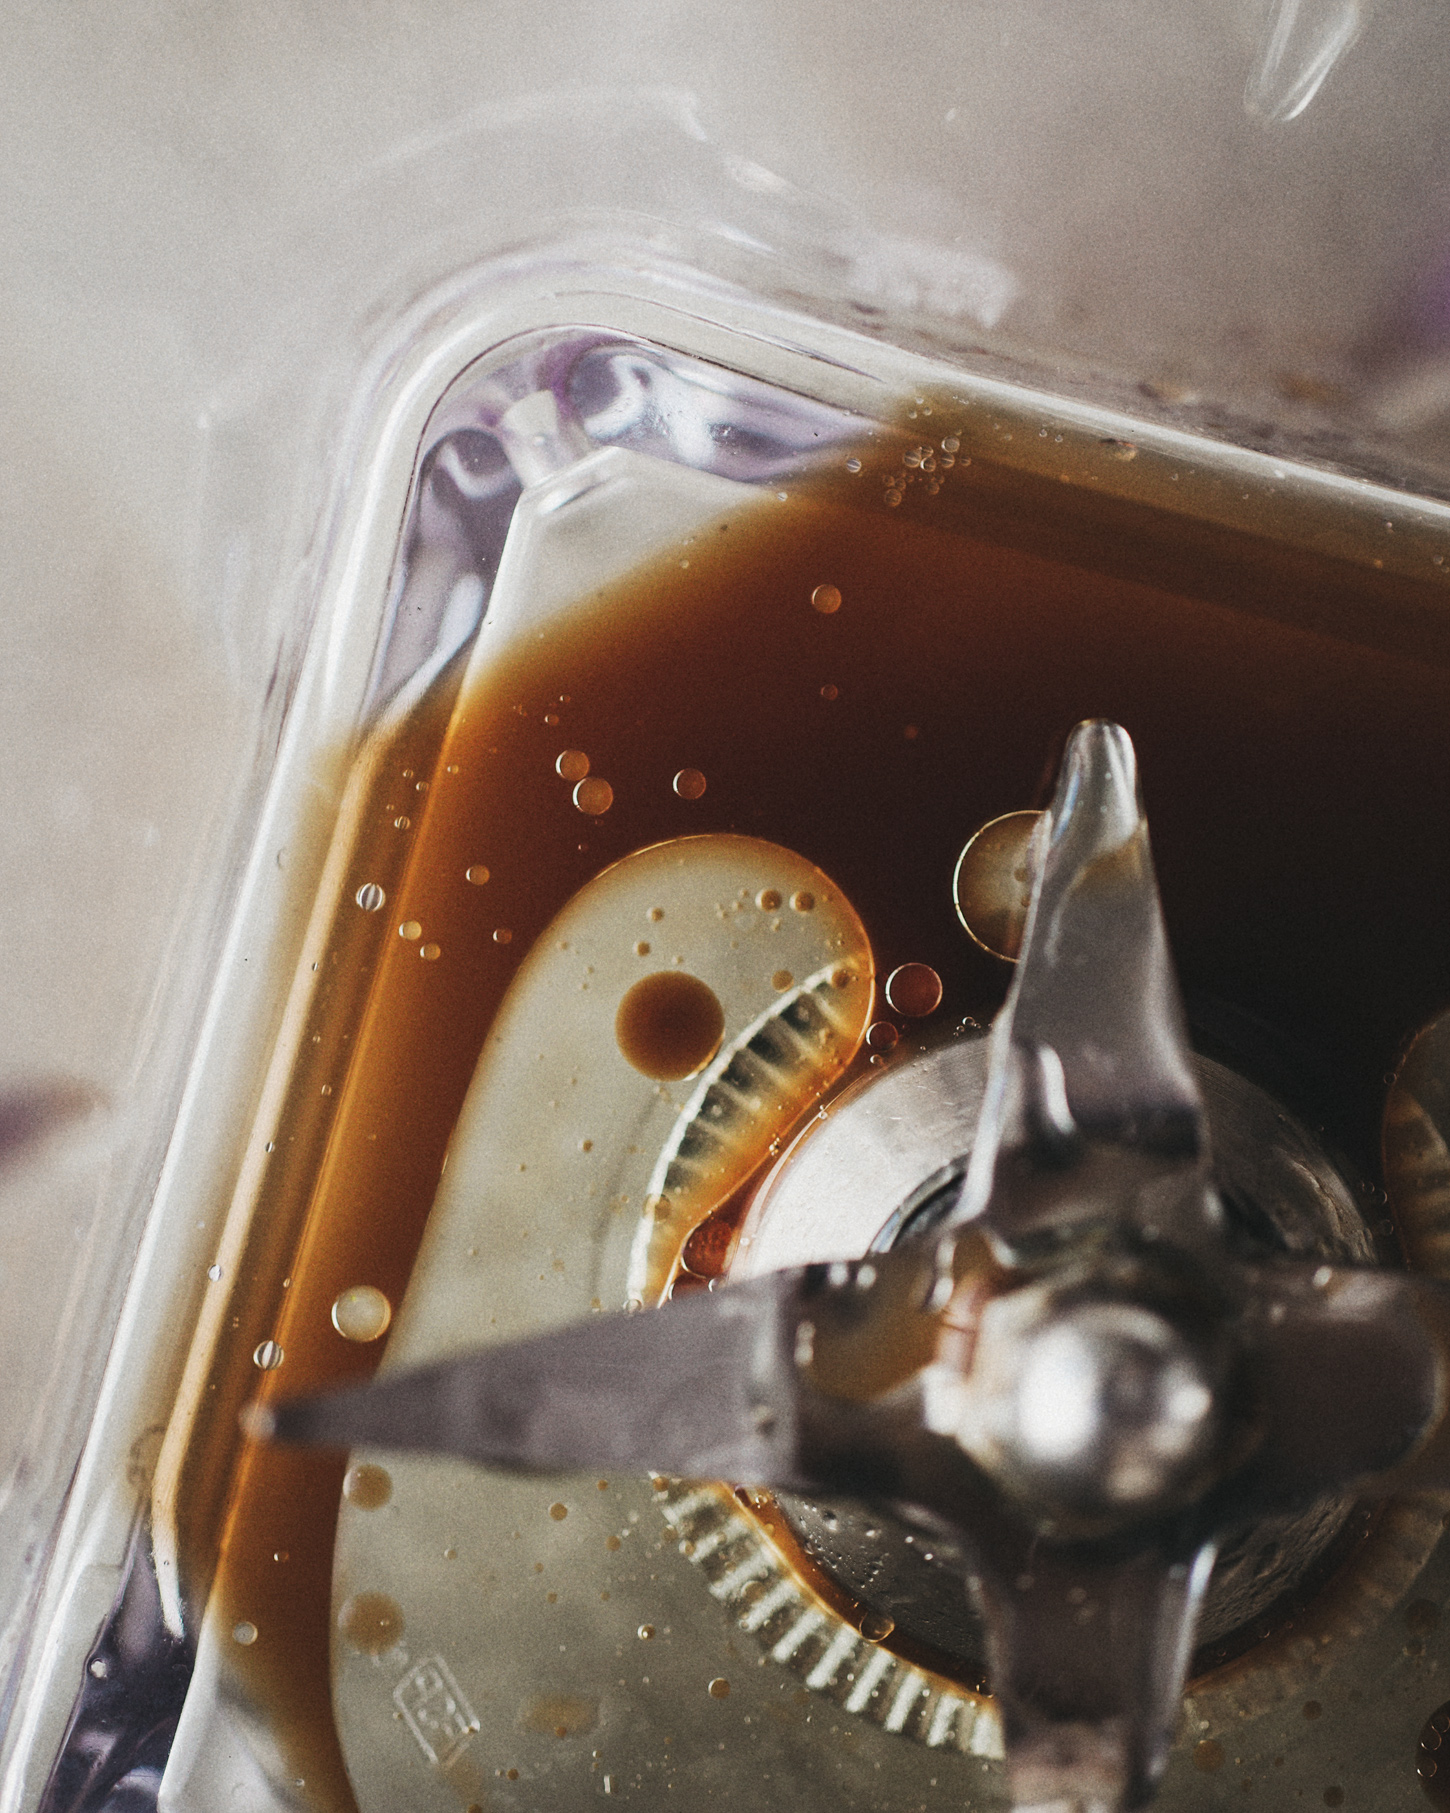
In a stand mixer, cream the butter and both sugars for a good two minutes. Add the eggs, salt and vanilla and mix again, scraping down the sides so it is all incorporated. Add the oats, flour, baking soda, baking powder and mix again until just combined, do not overmix. Add the chocolate, one more quick mix, scrape down the sides, and store it in the fridge for at least 6 hours, up to overnight. 
Preheat the oven to 350'. Make golfball size rounds and arrange them on cookie sheets or baking pans. Press down the center gently and sprinkle them with flaky salt. Bake on the middle rack for 8-10 minutes until the edges are browned and the center still looks slightly tender. You want them slightly underdone. Remove the tray, smack it on the counter, and let them cool a few minutes. Remove from the tray and let them cool completely on a wire rack. 
Assemble each sandwich with a scoop of vanilla ice cream in the center and then gently smush them together to press down the ice cream ball. Freeze them for at least a few hours, preferably overnight. 
*I put a long skinny tupperware in the freezer and just stash them in there as I assemble. They should last for about a week, or longer if you keep them individually wrapped in plastic wrap. 

Print This Recipe

Beverage, Breakfast, Gluten Free, Summer

COLD BREW WITH COCONUT CREAMER

I actually don't buy fancy drinks often but I love them. We spend a large part of our income on food and it seems like one place I can tighten things up. However, in a "treat yo'self" moment, I recently picked up the new one from Trader Joes and after spending nearly $5 on this tiny beverage, I had high expectations that were not met. Hugh makes us cold brew in the warm months so I'm putting him on explaining some of that to you. Tools, beans and such. He made the coffee, I made the coconut creamer from The First Mess and now I can make a special iced coffee on my own terms. The creamer is easy, it just requires a blender and a few staple ingredients. It does get a little firm in the fridge so I leave out before I need to use it or let it sit in a warm water bath to become a little more liquid. In the dairy free creamers you get at the store, there are a handful of funky ingredients that keep them a liquid and emulsify into your coffee, hot or cold. This creamer has more of a homemade texture to it and I like it that way. Makes me want to keep this as a fridge staple. We have two other coffee posts, Chemex and a video with the French press (in our old apartment! nostalgia!) if you fancy. 

In other summery news, I wrote a salmon taco recipe for Food52 and that avocado sauce has been a fridge staple. On eggs, veggie bowls, tacos, thinned to salad dressing, everything. Take a peek if you need a dinner idea!

COLD BREW COFFEE
Makes about 6 cups

There are all sorts of variations for this process, but we use a Toddy T2N Cold Brew System. It's simple, relatively inexpensive, and easy to use. The following brew method is adapted from their instructions, and makes about 6 cups of cold brew coffee concentrate.

12 ounces fresh roasted coffee - ground slightly finer than you would for drip. I grind at setting 10 (of 40) on a Baratza Virtuoso, for reference.
7 cups cold, filtered water


COCONUT CREAMER
Makes about 14 ounces

Creamer adapted from The First Mess

4 pitted dates
1 14-0z. can full fat coconut milk
1/2 tsp. vanilla extract
2 tsp. sunflower oil (or other neutral oil that is a liquid at room temperature)

COLD BREW

Fill - First, insert the stopper into the outside bottom of the brewing container; then, dampen the filter and insert it into the inside bottom of the brewing container. 

Next, add 1 cup of water into the bottom of the Toddy brewing container and 6 ounces of ground coffee. Slowly pour 3 more cups of water over the grounds, in a circular motion. Then, add the remaining 6 ounces of ground coffee. Finally, wait 5 minutes and slowly add the last 3 cups of water. DO NOT STIR (stirring the bed of grounds can result in a clogged filter). 

Lightly press down on the topmost grounds with the back of a spoon to ensure all grounds get wet. 

Cover - lay a sheet of plastic wrap over the top of the grounds with as few air bubbles as reasonably possible. The idea here is to minimize the amount of oxygen interacting with the steeping slurry. 

Brew - Steep your coffee grounds at room temperature for 12 to 24 hours to create a smooth, rich flavor. 

Filter - Remove the plastic wrap and the stopper and let your coffee concentrate flow into the glass decanter - stays fresh for 1-2 weeks in your refrigerator.

Serve - Into a glass full of ice, we went with a ratio of 2 parts coffee (which is a concentrate) to 1 part water to 1 part creamer. Not super sweet or decadent, so you can adjust that based on your own mood. 


COCONUT CREAMER

If your dates are soft, move forward with the recipe. If they are a little dry or tough, soak them in boiling water to soften then drain completely. 

In a high powered blender, run the dates, coconut milk, vanilla and oil until you have a smooth, thick liquid with minimal chunks of dates. Strain the creamer with a fine mesh strainer. 

Into a glass full of ice, we went with a ratio of 2 parts coffee (which is a concentrate) to 1 part water to 1 part creamer. Not super sweet or decadent, so you can adjust that based on your own mood. 

Print This Recipe

Breakfast, Bread

SWEET + SAVORY CORNMEAL WAFFLES

I'm reading Present Over Perfect by Shauna Niequist very slowly. Slowly because I honestly don't read for pleasure that often, and I like to savor the self-help/spiritual sort of books instead of plow through them. I know it's not new, but a friend lent it to me and I can't really think of a better time to read it than the beginning of summer. I'm just shy of halfway through and while I am not exactly Shauna as she describes herself (busy, extroverted, over booked), a lot of what she writes feel familiar to what goes on in my own head. I get overwhelmed easily, so I'm learning how to respect my own pace. I'm trying to ask my mom for help and book baby sitters a week in advance so I can work, I need at least a 30 minute walk around the neighborhood for my sanity but more time to exercise is ideal. I know that one play date in a day is usually enough for my introverted self, that I don't like taking both kids to a grocery store, and NO ONE accompanies me to a mall. I am quieter in groups and feel most connected relationally in a more vulnerable, one on one conversation. I have learned most of these things by not having them and missing them. It sounds high maintenance written out, but I'd like to think of it as figuring out who I am and what I need and just owning it. She describes it as learning when to say "no." She has these few paragraphs that made all those feelings feel permissible: 

"What's changing everything for me is a new understanding that we get to decide how we want to live. We get to shape our days and our weeks, and if we don't, they'll get shaped by the wide catch-all of "normal" and "typical," and who wants that?
"You can live on a farm or out of a backpack. You can work from your kitchen or in a high-rise. You can worship in your living room or a cathedral. Isn't that beautiful? And exciting? And so full of freedom? ...You get to make your life. In fact, you have to. And not only can you make it, you can remake it."

And then a few chapters later she says, "and I know that should is one of my warning signs - that frequently I pay more attention to how I should feel about something than how I actually do feel about it." That all seems related and familiar to me. Anyway. Perhaps I'll have more nuggets for you when I get to finishing it, but I like sharing things I need reminding of myself in the meantime.  

I book marked these waffles from Nicole's new book that focuses on poetry inspired by food and cooking and eating and all things involved with that. She shares poems, her notes and a collection of recipes that are tied to the writing for her. This house is an easy sell on waffles of all kinds. The kids prefer sweet and I insist that an egg in the morning helps me stay full so I made a savory version for myself and Hugh. You don't have to complicate anything, they are perfectly fine with butter and maple or plain yogurt. To wake up to them halfway done, I'll make the strawberry sauce the night before and then mix all the dry ingredients in a bowl so all I have to do in the morning is mix in the wet ingredients. Spoken from someone who gets the request for waffles often.

SWEET + SAVORY CORNMEAL WAFFLES // Serves 4
Waffle recipe adapted from Eat this Poem by Nicole Gulotta

You could keep these gluten free by using a gluten free all purpose flour. To make them dairy free, you could replace the buttermilk with a dairy free version - generally 1 cup plant based milk with 1 Tbsp. vinegar or lemon juice. The waffles' texture is sort of dry, as cornmeal sucks up moisture, making them perfect for a generous amount of toppings. To get ahead, make the waffles and keep them warm in a 250' oven while you cook the rest. The strawberry sauce can be made in advance and rewarmed in a small pot. 

3/4 cup cornmeal, medium or fine ground
3/4 cup unbleached all purpose flour
1 1/4 tsp. baking powder
1/2 tsp. baking soda
1/2 tsp. sea salt
1 cup buttermilk
1/3 cup maple syrup
2 eggs
3 Tbsp. melted butter or neutral oil, plus more for the waffle iron

*If you are making the strawberry sauce, start there, as that is hands off once you get them in the oven.

Whisk the cornmeal, flour, baking powder, baking soda and salt together in a large bowl. In a glass measuring cup or another bowl, whisk the buttermilk, maple, eggs and butter or oil together. Add the wet to the dry ingredients and gently stir until just combined. Let the mixture hydrate for 5 minutes or so while your waffle iron heats up. 
Once hot, grease your waffle iron with butter or coconut oil. Pour about 1/3 cup batter into the center and cook according to the waffle irons instructions. 
Top your waffle with strawberry sauce, or dress it up savory with arugula, vinaigrette, a fried egg and a generous sprinkle of feta cheese. 

/roasted strawberry sauce/

2 cups halved strawberries
1 tsp. olive oil or other oil
2 tbsp. maple syrup
pinch of salt

Preheat the oven to 350'. On a parchment lined baking sheet, toss the strawberries with the oil, maple and salt and spread in an even layer. Roast for 20 minutes until the strawberries breakdown. Remove to cool slightly. Transfer the strawberries and all their juices to a bowl for serving. 

/ savory waffle /

arugula
jalapeno vinaigrette
fried egg
feta cheese


Print This Recipe